Happy New Year everyone! For all my subscribers, thanks for sticking with me and for the newbies thanks for visiting! I hope you get something beneficial and decide to come back again!
Today I'm posting something long overdue...my DIY headboard. Let me start off by saying that even though I love DIYing, if something costs less to buy I will do it. So, after searching for a tufted headboard to fit my bed I decided that something detachable would be best. Most that I found cost around $500+ and the way my account is set up....we're not shelling out that amount. That led me to DIYing. The total cost was around $50!! Thankfully after talking to a couple of coworkers about where to find someone who can cut wood in a specific design one said he'd do it for free and I'd just pay for the materials!! I was grateful that there is someone I know that does woodworking for fun. I gave him the shape that I wanted and it didn't come out the way I suggested but it was better. A combination of 2 shapes. (see below)
After getting my plywood cut I purchased 2 twin memory foam for the cushion. I traced the shape of the headboard onto the foam and cut.
Next I did a makeshift grid to figure out how many buttons I needed and how close I wanted them.
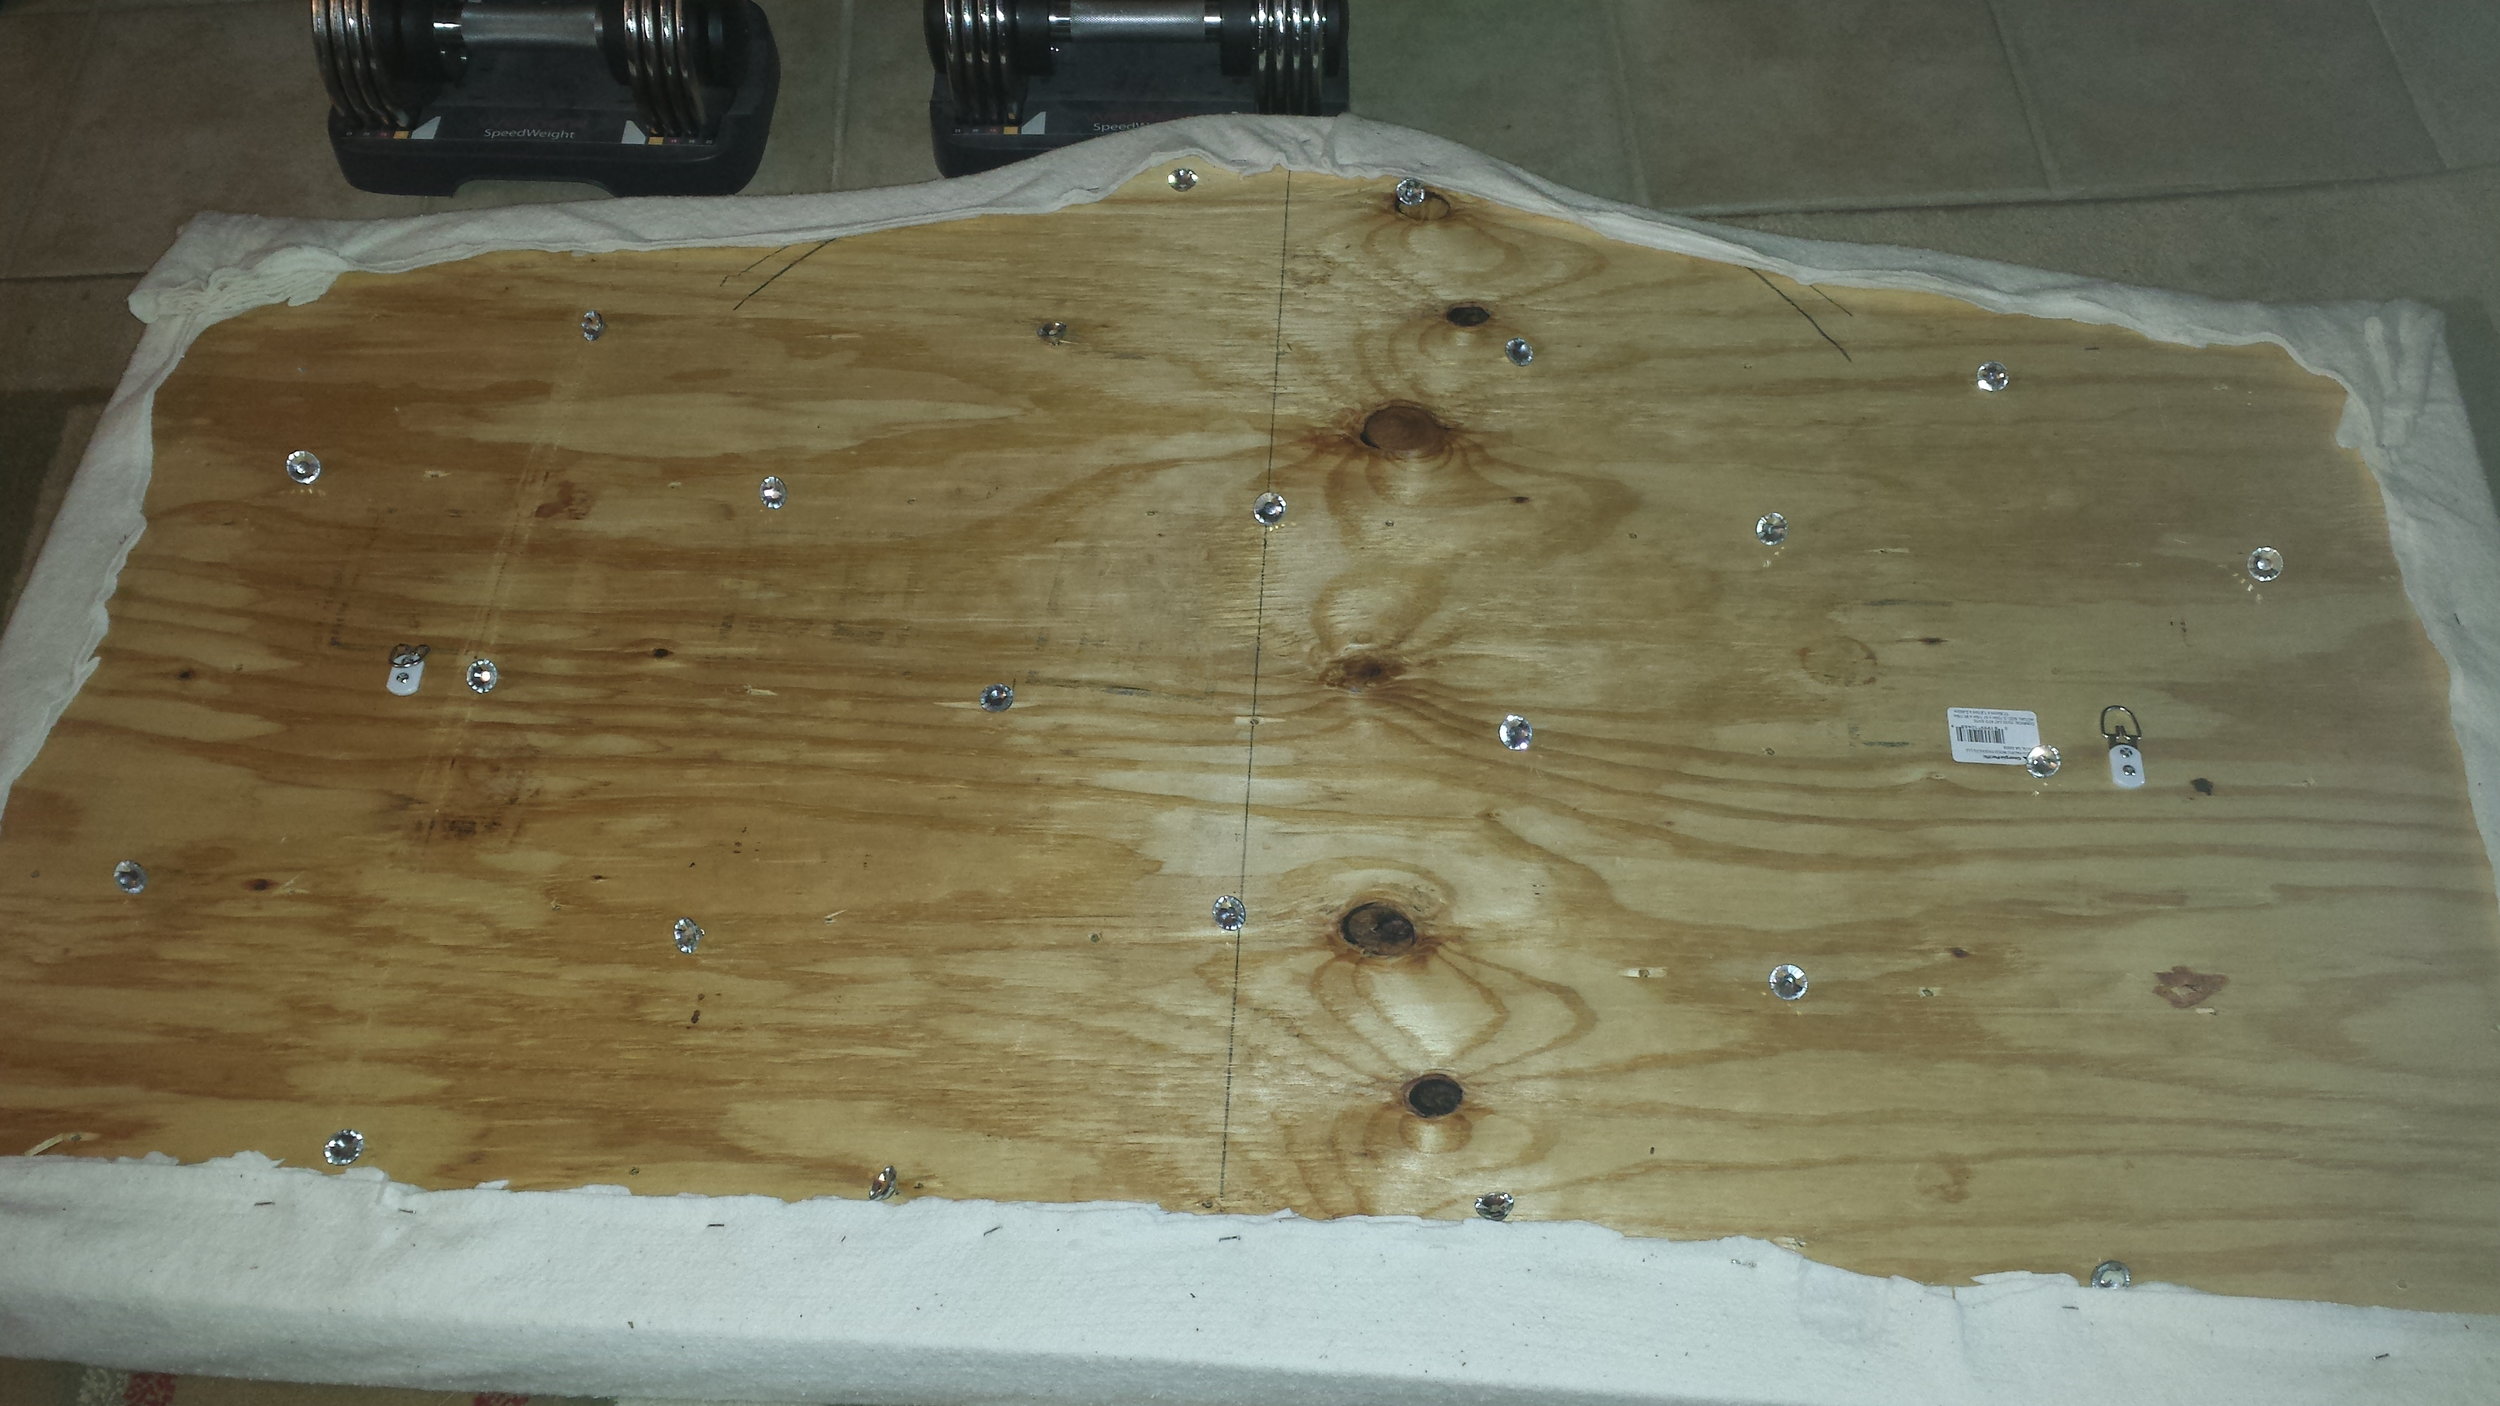
I used spray adhesive to attach the foam to the wood and stapled on some batting (purchased from Hancock Fabrics) after drilling holes through the wood.
Following that I laid my fabric and started pulling buttons through with a large upholstery need and stapled the thread on the back. This was the hardest part to do alone so I did have to get some help.
I found my fabric deeply discounted at Hancock's since they were going out of business. If you know anything about upholstery fabric, then you know it's fairly expensive! Time to staple the fabric to the back.
Totally tufted!
Here's the finished headboard hung on my wall. What do you think?
Let me know if you have any questions or if I left anything out. See you soon!


